Build a Realtime Chat App with Directus and SvelteKit
Directus offers real-time capabilities powered by WebSockets. You can use these with the Directus SDK to create your own real-time applications. In this tutorial, you will build a chat application using SvelteKit and a Directus project.
Before You Start
You will need:
- A Directus project with admin access.
- Fundamental understanding of Svelte concepts.
- Optional but recommended: Familiarity with data modeling in Directus.
Set Up Your Directus Project
Configure Cors and WebSocket
You also need to configure CORS and WebSocket. Update your docker-compose.yml file as follows:
WEBSOCKETS_ENABLED: "true"
CORS_ENABLED: "true"
CORS_ORIGIN: "http://localhost:5173"
CORS_CREDENTIALS: "true"
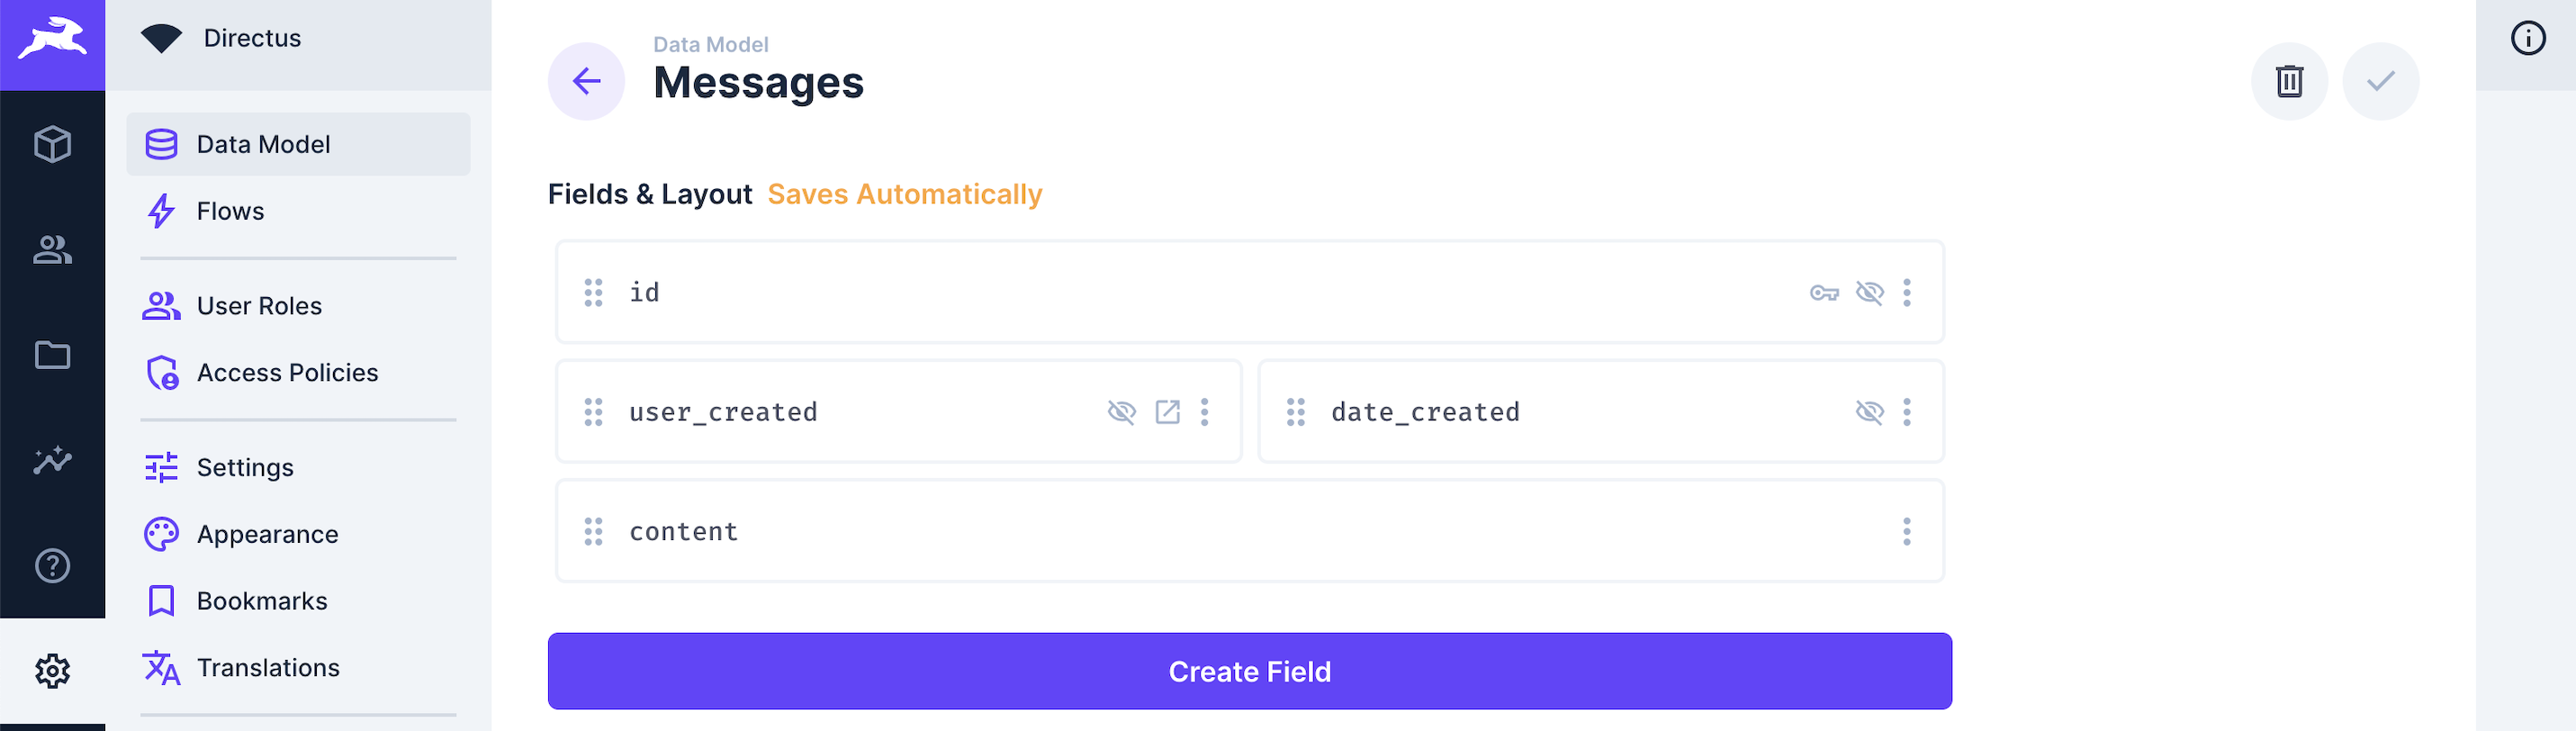
Create a Collection
Create a new collection called messages with the following fields:
content(Type: textarea)
After which, you can go to the optional fields and add the following:
user_createddate_created
Edit Public Policy
Navigate to Settings -> Access Policies -> Public. Under messages grant full access for create and read.
Set Up Your Sveltekit Project
Initialize Your Project
To start building, you need to install SvelteKit and Directus sdk. Run this command to install SvelteKit:
npx sv create realtime-app
When prompted, select SvelteKit minimal as the template. Do not add type checking, as this tutorial is implemented in JavaScript. Your output should look like this:
 Welcome to the Svelte CLI! (v0.6.16)
│
◇  Which template would you like?
│  SvelteKit minimal
│
◇  Add type checking with Typescript?
│  No
│
◆  Project created
│
◇  What would you like to add to your project? (use arrow keys / space bar)
│  none
│
◇  Which package manager do you want to install dependencies with?
│  npm
│
◆  Successfully installed dependencies
│
◇  Project next steps ─────────────────────────────────────────────────────╮
│                                                                          │
│  1: cd realtime-app                                                       │
│  2: git init && git add -A && git commit -m "Initial commit" (optional)  │
│  3: npm run dev -- --open
Afterward, cd into your project directory and install the Directus SDK by running this command:
npm install @directus/sdk
You need to initialize Directus SDK in your project. Create a file called directus.js inside the ./src/lib directory. Add the following code:
import { createDirectus, authentication, realtime, rest } from "@directus/sdk";

const directusURL = "http://localhost:8055";

export const directus = createDirectus(directusURL)
  .with(authentication())
  .with(rest())
  .with(realtime());
Create a Login Form
Create a file called +page.svelte file in the ./src/route directory. Add the following code:
<script>
  import { onMount, onDestroy } from "svelte";
  import { directus } from "../lib/directus.js";
  import { tick } from "svelte";

  let email = "";
  let password = "";
  let loggedIn = false;
  let messages = [];
  let messageContent = "";
  let websocketConnected = false;
  let refreshToken = null;
  let reconnectAttempts = 0;
  let maxReconnectAttempts = 20;
  let reconnectDelay = 2000;

  async function login(event) {
    event.preventDefault();
    try {
      const authResponse = await directus.login(email, password, {
        mode: "json",
      });
      console.log("Login successful");
      refreshToken = authResponse.refresh_token;

      if (!refreshToken) {
        throw new Error("No refresh token received from login.");
      }

      loggedIn = true;
      await connectWebSocket();
    } catch (error) {
      console.error("Login failed:", error);
    }
  }
  async function connectWebSocket() {
    if (!loggedIn || websocketConnected) return;

    try {
      setupWebSocketEventHandlers();

      await directus.connect();
      websocketConnected = true;
      console.log("WebSocket Connected");

      const accessToken = await directus.getToken();
      if (accessToken) {
        await directus.sendMessage({
          type: "auth",
          access_token: accessToken,
        });
      } else if (refreshToken) {
        await directus.sendMessage({
          type: "auth",
          refresh_token: refreshToken,
        });
      } else {
        throw new Error("No authentication tokens available");
      }

      console.log("WebSocket Authenticated");
      reconnectAttempts = 0;
      reconnectDelay = 2000;

      await directus.sendMessage({
        type: "items",
        collection: "messages",
        action: "read",
        query: {
          limit: 100,
          sort: "-date_created",
          fields: ["id", "content", "user_created.first_name"],
        },
        uid: "get-recent-messages",
      });

      subscribeToMessages();
    } catch (error) {
      console.error("WebSocket connection failed:", error);
      websocketConnected = false;
      attemptReconnect();
    }
  }

  onMount(async () => {
    if (loggedIn) {
      await connectWebSocket();
    }
  });

  onDestroy(() => {
    if (websocketConnected) {
      directus.disconnect();
    }
  });
</script>
In the code above we use WebSocket authentication via handshake mode to connect to Directus in real-time. When the WebSocket starts, the app sends authentication details to stay connected. The authentication function handles login, stores tokens, loads recent messages, and reconnects automatically if the connection drops or authentication expires.
Subscribe to Incoming Messages
Add the following code at the bottom of the script in your ./src/routes/+page.svelte:
async function subscribeToMessages() {
  try {
    const { subscription } = await directus.subscribe("messages", {
      event: "create",
      query: {
        fields: ["id", "content", "user_created.first_name"],
      },
    });

    for await (const event of subscription) {
      receiveMessage(event);
    }
  } catch (error) {
    console.error("Subscription error:", error);
    if (websocketConnected) {
      websocketConnected = false;
      attemptReconnect();
    }
  }
}
The subscribeToMessages() function sets up a real-time listener for new messages in Directus using WebSocket subscriptions. It subscribes to the messages collection, requesting only the message ID, content, and sender’s first name while also including a UID for good practice
This allows the app to match responses with specific requests, improving reliability when handling multiple subscriptions. As new messages arrive, the function processes each event in a loop and calls receiveMessage(event), ensuring real-time updates in the app.
Send Messages
To begin sending messages, add the following code at the bottom of the script in your .src/routes/+page.svelte file
const sendMessage = async (event) => {
  event.preventDefault();
  if (!messageContent.trim() || !refreshToken) return;

  try {
    if (!websocketConnected) {
      await connectWebSocket();
    }

    await directus.sendMessage({
      type: "items",
      collection: "messages",
      action: "create",
      data: { content: messageContent },
    });

    console.log("Message sent via WebSocket");
    messageContent = "";
  } catch (error) {
    console.error("Failed to send message:", error);
    if (!websocketConnected) {
      attemptReconnect();
    }
  }
};
The sendMessage function handles sending a new message via WebSocket in Directus. It first prevents the default form submission behavior and checks if the message content is empty or if the user is not logged in, in which case it stops execution.
If the WebSocket is not connected, it attempts to reconnect before sending the message. It then sends the message as a create action in the "messages" collection using Directus' WebSocket API. If successful, it logs confirmation and clears the message input. If sending fails, it logs the error, and if the WebSocket is disconnected, a reconnection attempt is triggered.
Fetching the Latest Messages On Load
Add the following code at the bottom of the script in your ./src/routes/+page.svelte.:
async function receiveMessage(newMessage) {
  console.log("New message received with UID:", newMessage.uid, newMessage);

  if (newMessage.data && Array.isArray(newMessage.data)) {
    messages = [
      ...messages,
      ...newMessage.data.map((msg) => ({
        id: msg.id,
        content: msg.content,
        user: msg.user_created?.first_name || "User",
      })),
    ];
    await tick();
  }
}
The receiveMessage function processes incoming WebSocket messages and ensures they belong to the correct subscription by checking the UID before updating the app.
If valid, it extracts the message ID, content, and sender’s first name, then updates the message list.
Display Incoming Messages
To display the messages, you need to add the UI templates for the chats. Right after the script tag in your ./src/routes/+page.svelte, add the following code:
<div class="container-center">
  {#if !loggedIn}
  <div class="card">
    <h2>Login</h2>
    <form on:submit="{login}">
      <div class="form-group">
        <label>Email</label>
        <input type="email" bind:value="{email}" required />
      </div>
      <div class="form-group">
        <label>Password</label>
        <input type="password" bind:value="{password}" required />
      </div>
      <button type="submit">Login</button>
    </form>
  </div>
  {:else}
  <div class="chat-container">
    <div class="chat-header">
      Chat Room
      <span
        class="connection-status {websocketConnected ? 'connected' : 'disconnected'}"
      >
        {websocketConnected ? "• Connected" : "• Disconnected"}
      </span>
    </div>
    <div class="chat-body">
      <ul class="list-unstyled">
        {#each messages as msg (msg.id)}
        <li class="message {msg.user === 'You' ? 'user' : 'other'}">
          <strong>{msg.user}</strong>: {msg.content}
        </li>
        {/each}
      </ul>
    </div>
    <div class="chat-footer">
      <form on:submit="{sendMessage}">
        <input
          type="text"
          bind:value="{messageContent}"
          placeholder="Type a message..."
          required
          disabled="{!websocketConnected}"
        />
        <button type="submit" disabled="{!websocketConnected}">Send</button>
      </form>
    </div>
  </div>
  {/if}
</div>
This manages the login form and the real-time chat interface, switching between them based on the user's authentication status.
Handling Connection Stability
Add the following code at the bottom of the script in your ./src/routes/+page.svelte:
function setupWebSocketEventHandlers() {
  directus.onWebSocket("close", () => {
    console.log("WebSocket connection closed");
    websocketConnected = false;

    if (refreshToken) {
      attemptReconnect();
    }
  });

  directus.onWebSocket("error", (error) => {
    console.error("WebSocket error:", error);
    websocketConnected = false;
  });

  directus.onWebSocket("message", async (message) => {
    if (message.type === "ping") {
      directus.sendMessage({ type: "pong" });
    }

    if (message.uid === "get-recent-messages") {
      console.log("Received past messages:", message);
      if (message.data && Array.isArray(message.data)) {
        const pastMessages = [...message.data].reverse().map((msg) => ({
          id: msg.id,
          content: msg.content,
          user: msg.user_created?.first_name || "User",
        }));
        messages = [...pastMessages, ...messages];
        await tick();
      }
    }

    if (message.type === "auth" && message.status === "expired") {
      console.log("Authentication expired, re-authenticating...");

      if (refreshToken) {
        try {
          await directus.sendMessage({
            type: "auth",
            refresh_token: refreshToken,
          });
          console.log("Re-authentication successful");
        } catch (error) {
          console.error("Re-authentication failed:", error);
          attemptReconnect();
        }
      } else {
        console.log("No refresh token available, cannot re-authenticate.");
        attemptReconnect();
      }
    }
  });
}

function attemptReconnect() {
  if (reconnectAttempts >= maxReconnectAttempts) {
    console.log("Max reconnect attempts reached. Please log in again.");
    dispatch("connectionLost");
    return;
  }

  reconnectAttempts++;
  setTimeout(async () => {
    if (!websocketConnected && refreshToken) {
      try {
        await directus.connect();
        websocketConnected = true;
        await directus.sendMessage({
          type: "auth",
          refresh_token: refreshToken,
        });

        console.log("Reconnected and authenticated successfully");
        subscribeToMessages();
        reconnectAttempts = 0;
        reconnectDelay = 2000;
      } catch (error) {
        console.error("Reconnection failed:", error);
        reconnectDelay = Math.min(reconnectDelay * 1.5, 30000);
        attemptReconnect();
      }
    }
  }, reconnectDelay);
}
The setupWebSocketEventHandlers() and attemptReconnect() functions ensures a stable WebSocket connection by handling authentication expiration and keeping the session alive respectively.
Test the Application
To test the application, run this command:
npm run dev
Afterward, open http://localhost:5173/ in your browser. You should see a login form displayed:
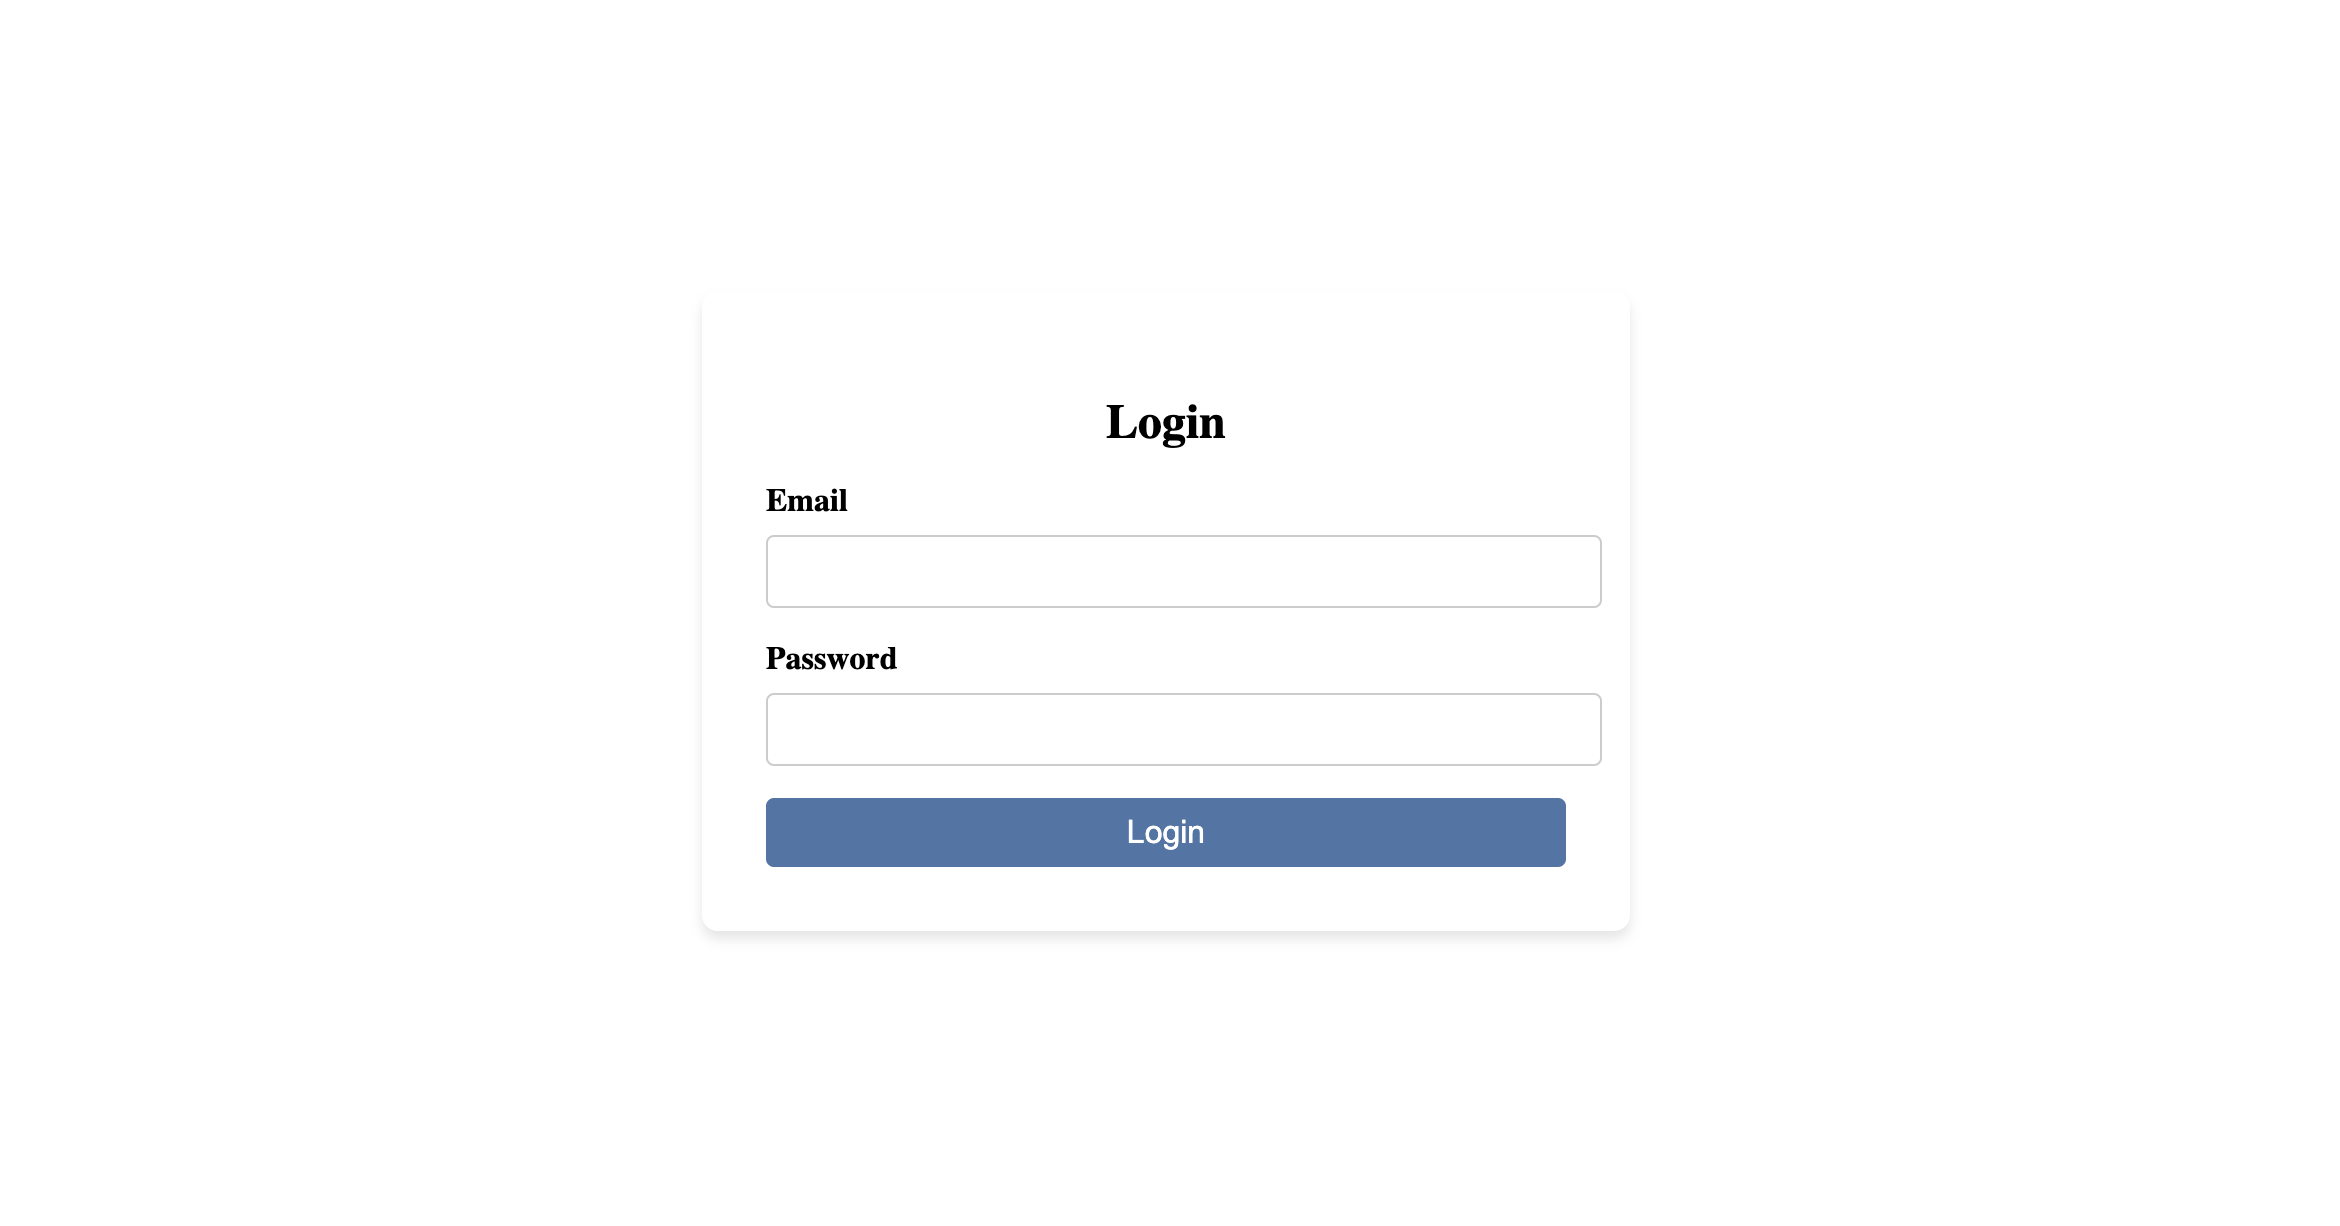
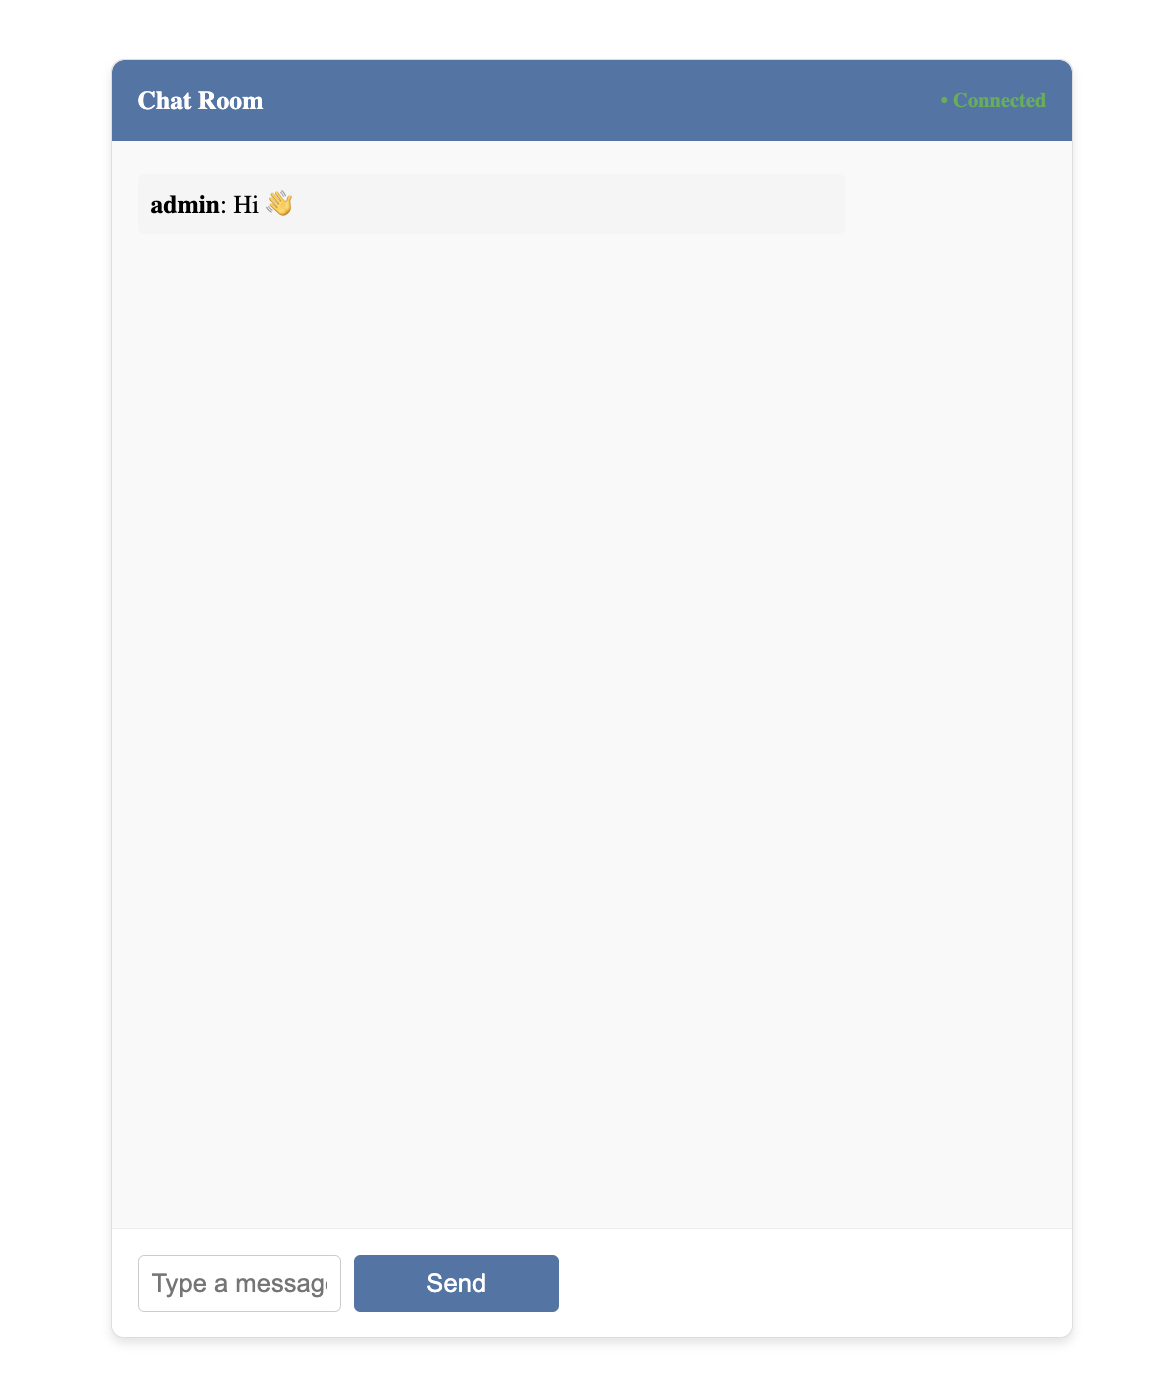
Next, you'll see an empty chat. Go to the Directus dashboard and create a new message in the 'Messages' collection. After that, you should see the message displayed in the chat box, as shown in the image below.
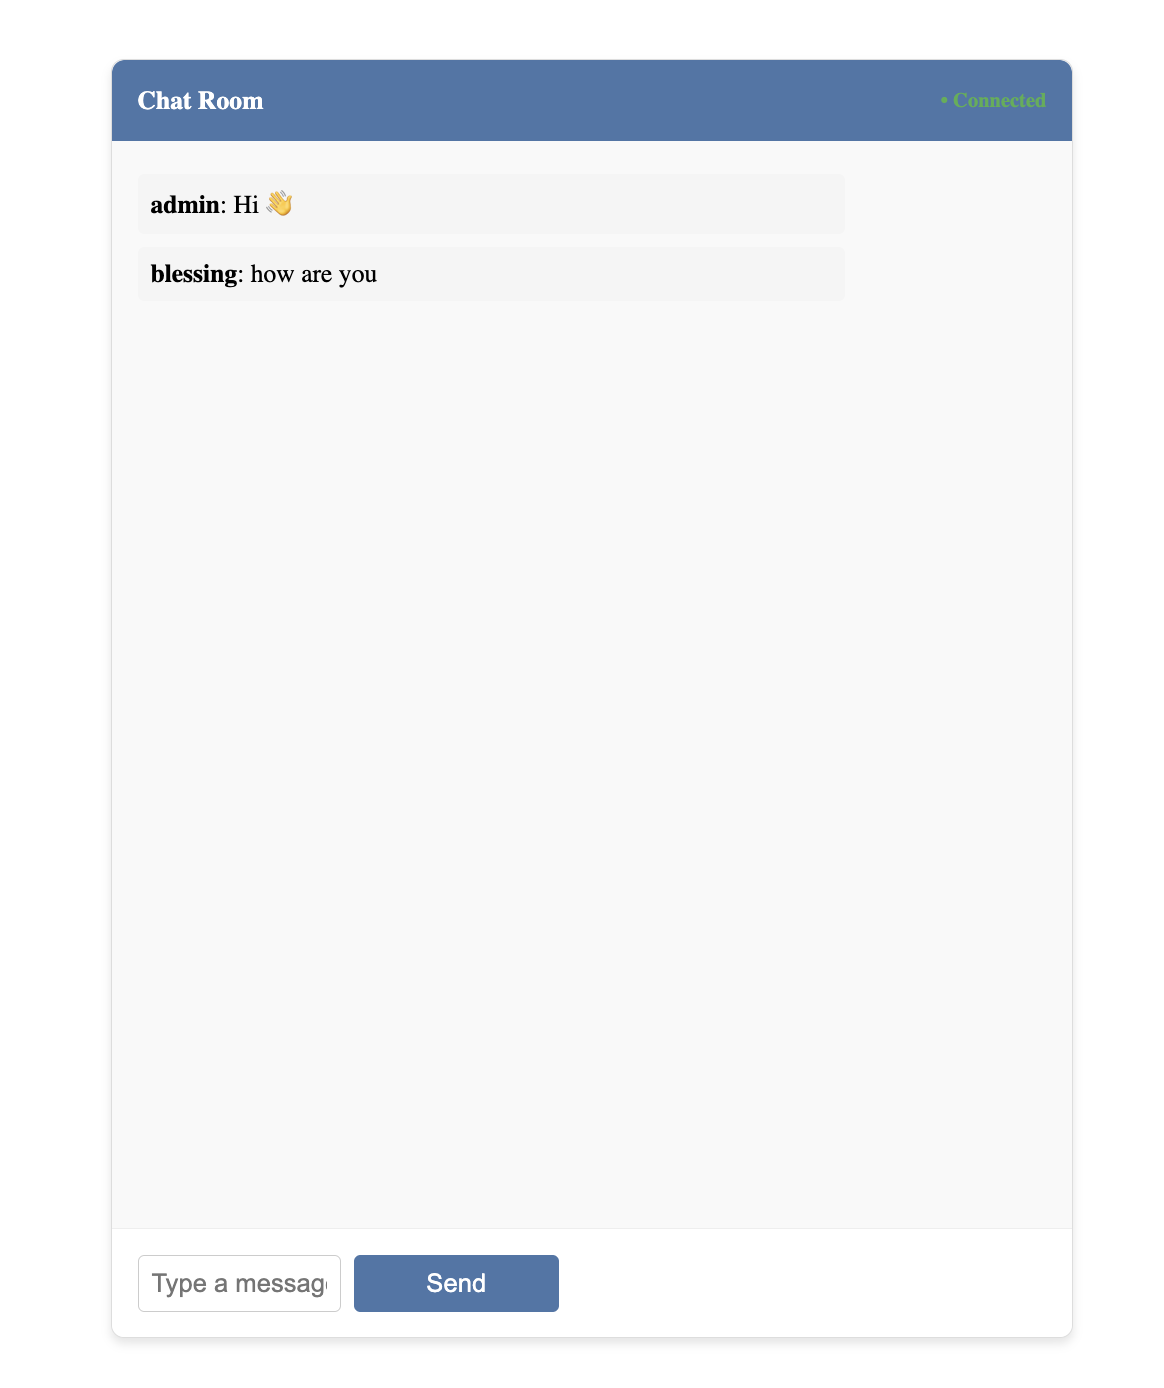
You can also interact with the chat box by sending new messages, as shown in the image below.
Summary
In this tutorial, you built a real-time chat application using Directus, SvelteKit, and WebSockets. You can expand it by adding features like user presence indicators, typing notifications, or even file sharing.