Build a Realtime Chat App with Directus and Next.js
Directus offers realtime capabilities, powered by websockets. You can use these with the Directus SDK to create your own realtime applications. In this tutorial, you will build a chat application using Next.js and a Directus project.
Before You Start
You will need:
- A Directus project with admin access.
- Fundamental understanding of Next.js and React concepts.
- Optional but recommended: Familiarity with data modeling in Directus.
Set Up Your Directus Project
Create a Collection
Create a new collection called messages with the following fields:
content(Type: textarea)
After which you can go to the optional fields and activate the following:
user_createddate_created
Edit Public Policy
To allow viewing the posts collections and field listings as an unauthenticated user, you will need to modify the public access policy. In a real project, you would want to create a new policy and authenticate users to Directus before allowing them access to your content.
To do this, navigate to Settings -> Access Policies -> Public and under Permissions add messages with full access for create and read.
The Next.js app will display the name of the user who created the message so the public policy will also need to have access to the directus_users collection. Add directus_users with custom read access and under Field Permissions check first_name and last_name.
Create a User for Chatting
Messages will need to be assigned to a user. Create a new user in Directus by navigating to User Directory -> Add User and create a new user. Be sure to remember the email and password you use. Assign the user with the Public policy that was edited in the previous step by clicking "Add Existing" under policies and selecting "Public".
Configure Realtime
Directus Realtime may disabled on self-hosted projects. To enable it if you are using Docker, edit your docker-compose.yml file as follows:
environment:
  WEBSOCKETS_ENABLED: "true"
  WEBSOCKETS_HEARTBEAT_ENABLED: "true"
If you use Directus Cloud to host your project, you do not need to manually enable Realtime.
Configure CORS
You may need set your content security policy to allow your Next.js app to access the Directus instance. For example if you are self-hosting, or in development, and using Docker, then you can do this by adding the following environment variable to your docker-compose.yml file:
environment:
  CONTENT_SECURITY_POLICY_DIRECTIVES__FRAME_SRC: your-website-url
Replace
your-website-urlwith your Next.js app's URL and the port. eg. if your app URL is in development ishttp://localhost:3000, replaceyour-website-urlwithlocalhost:3000.
Set Up Your Next.js Project
Next, create a new Next.js app by running the following command:
npx create-next-app \
  directus-next-chat \
  --js \
  --app \
  --eslint \
  --no-src-dir \
  --no-tailwind \
  --turbopack \
  --import-alias "@/*"
Next, change your terminal's working directory into the newly created project directory and install the Directus SDK into it:
cd directus-next-chat
npm i @directus/sdk
Now, open the project directory in your code editor to start building the app. First of all, clear out the CSS in app/globals.css and replace the code in app/page.js with the following:
export default function Home() {
  return <div />
}
Set up Directus
To make it easy to access the Directus instance through the SDK, it is recommended to create a helper file that you can import anywhere in your Next.js app. To do that, create a new directory called lib in the project directory and save the following code snippet in a file called directus.js in it:
import { createDirectus, authentication, realtime, rest } from '@directus/sdk';

const url = 'http://localhost:8055';

export const directus = createDirectus(url)
    .with(authentication())
    .with(rest())
    .with(realtime());

export default directus;
Important: Because Next.js extends the native fetch API with a force-cache configuration by default, you may sometimes run into scenarios where Next.js returns stale data. To fix this, update the rest() composable to add the following option:
.with(
  rest({
    onRequest: (options) => ({ ...options, cache: 'no-store' }),
  })
)
Create a Login Form
To start things off, you will need to allow the user to sign into the app using their email and password. To implement that, paste the following code in the app/page.js file:
'use client';
import { useState, useEffect } from 'react';
import directus from '@/lib/directus';

export default function Home() {
  const [credentials, setCredentials] = useState({
    email: '',
    password: '',
  });
  const [refreshToken, setRefreshToken] = useState(undefined);

  // Handle login via WebSocket
  const login = async () => {
    // TODO
  };

  // Handle input change
  const handleInputChange = (e) => {
    const { name, value } = e.target;
    setCredentials((prev) => ({
      ...prev,
      [name]: value,
    }));
  };
  return (
    <div>
      <h1>Directus Realtime Chat</h1>
      {refreshToken === undefined ? (
        <div>
          <h2>Login</h2>
          <input
            type="text"
            name="email"
            placeholder="Email"
            value={credentials.email}
            onChange={handleInputChange}
          />
          <br />
          <input
            type="password"
            name="password"
            placeholder="Password"
            value={credentials.password}
            onChange={handleInputChange}
          />
          <br />
          <button type="button" onClick={login}>
            Login
          </button>
        </div>
      ) : (
        <div>
          <h2>Chat</h2>
          <p>Signed in!</p>
        </div>
      )}
    </div>
  );
}
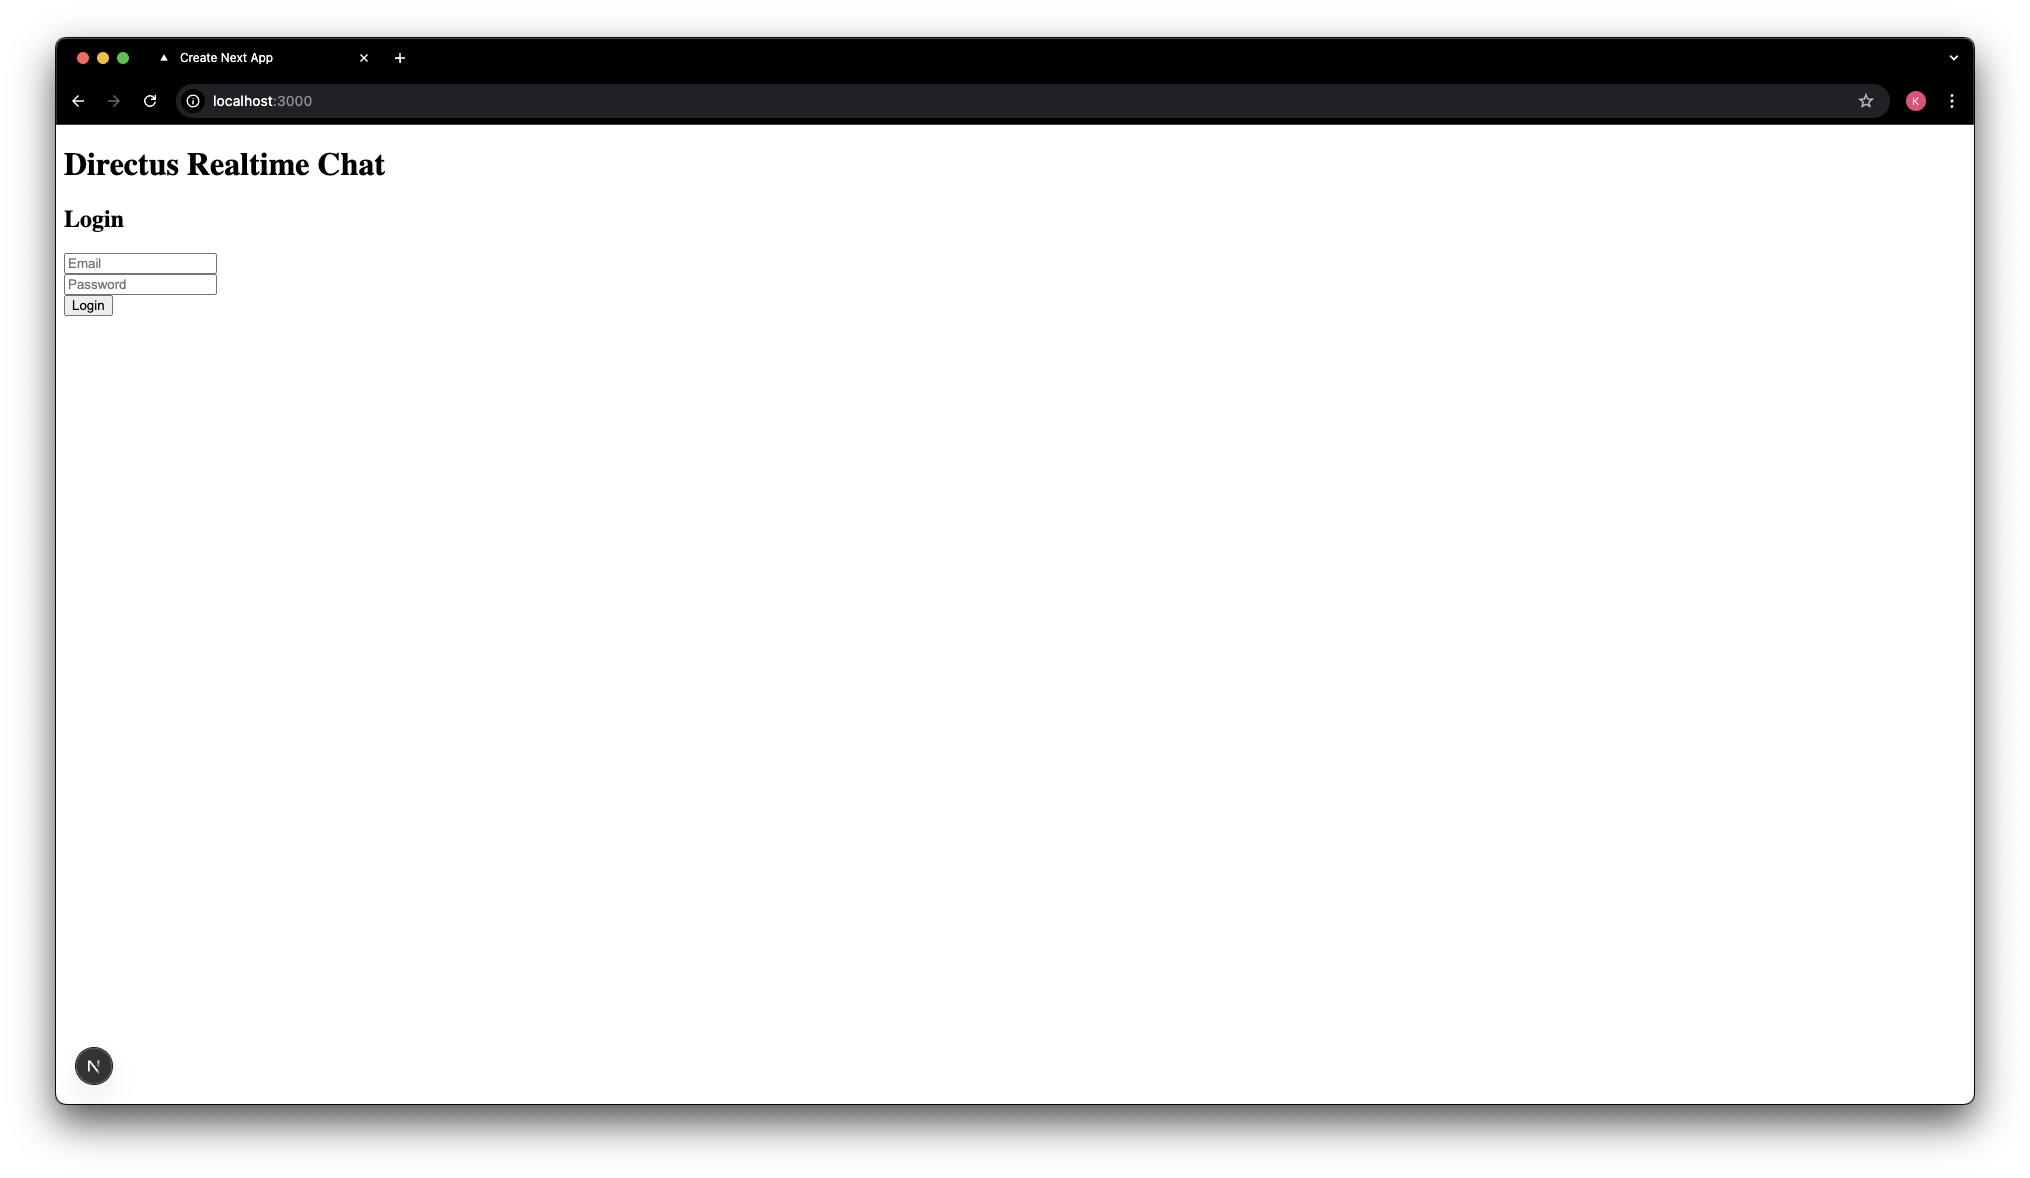
If you run npm run dev and navigate to http://localhost:3000 you should see a login form.
To authenticate the realtime client using the default handshake mode, you will first need to authenticate the REST client using the email and password that the user provides in the login form. Then, you can use the handshake mode to authenticate the realtime client right after calling directus.connect().
To do that, add the following functions to the Home component:
  // Handle login via WebSocket
  const login = async () => {
    const authResponse = await directus.login(credentials.email, credentials.password, {
      mode: "json",
    });
    console.log("Login successful", authResponse);

    setupWebSocket()
  };

  // Connects the realtime client, authenticates via handshake, and sets up the message listener
  async function setupWebSocket() {
    await directus.connect();

    directus.sendMessage({
      type: "auth",
      email: credentials.email,
      password: credentials.password,
    })

    directus.onWebSocket('message', (message) => {
      try {
        console.log('Received WebSocket message:', message);
        if (message.type === 'auth' && message.status === 'ok') {
          setRefreshToken(message.refresh_token);
        }
      } catch (err) {
        console.error('Error parsing WebSocket message:', err);
      }
    });
    directus.onWebSocket('error', (err) => {
      console.error('WebSocket error:', err);
    });
  }
Now, visit http://localhost:3000 and try logging in with the user you created in Directus in the steps above.
Subscribe to Incoming Messages
Although directus.onWebSocket('message', {}) will receive all messages, the Directus SDK provides a more convenient way to subscribe to specific events. In this case, you can subscribe to the messages collection to receive specific fields from any messages as they are created and uniquely identify your subscription with a UID for best practice.
To do that, add the following code to the Home component:
  const [messages, setMessages] = useState([])
  async function subscribeToMessages() {
    try {
      await directus.subscribe("messages", {
        event: "create",
        query: {
          fields: ["id", "content", "user_created.first_name"],
        },
        uid: 'messages-subscription',
      });
    } catch (error) {
      console.error("Subscription error:", error);
    }
  }

  const addMessageToList = (message) => {
    setMessages((prev) => [...prev, message]);
  };

  const receiveMessage = (data) => {
    if (
      data.uid === 'messages-subscription' &&
      data.type === 'subscription' &&
      data.event === 'create'
    ) {
      const message = data.data?.[0];
      if (message) {
        addMessageToList(message);
      }
    } else if (data.type === 'ping') {
      directus.sendMessage({ type: 'pong' });
    }
  };
Now, you just need to subscribe to the messages collection when the user is authenticated. Update the "message" event listener to include the subscription and the message processing calls:
  directus.onWebSocket('message', (message) => {
      try {
        console.log('Received WebSocket message:', message);
        if (message.type === 'auth' && message.status === 'ok') {
          setRefreshToken(message.refresh_token);
          // Add the subscription call here
          subscribeToMessages();
        }
        // Process received messages
        receiveMessage(message);
      } catch (err) {
        console.error('Error parsing WebSocket message:', err);
      }
    });
    directus.onWebSocket('error', (err) => {
      console.error('WebSocket error:', err);
    });
Then display the message list in the page by updating the else condition with the following JSX:
<div>
    <h2>Chat</h2>
    {messages.map((message) => (
      <div key={message.id}>
        {message.user_created?.first_name || 'Anonymous'}: {message.content}
      </div>
    ))}
  </div>
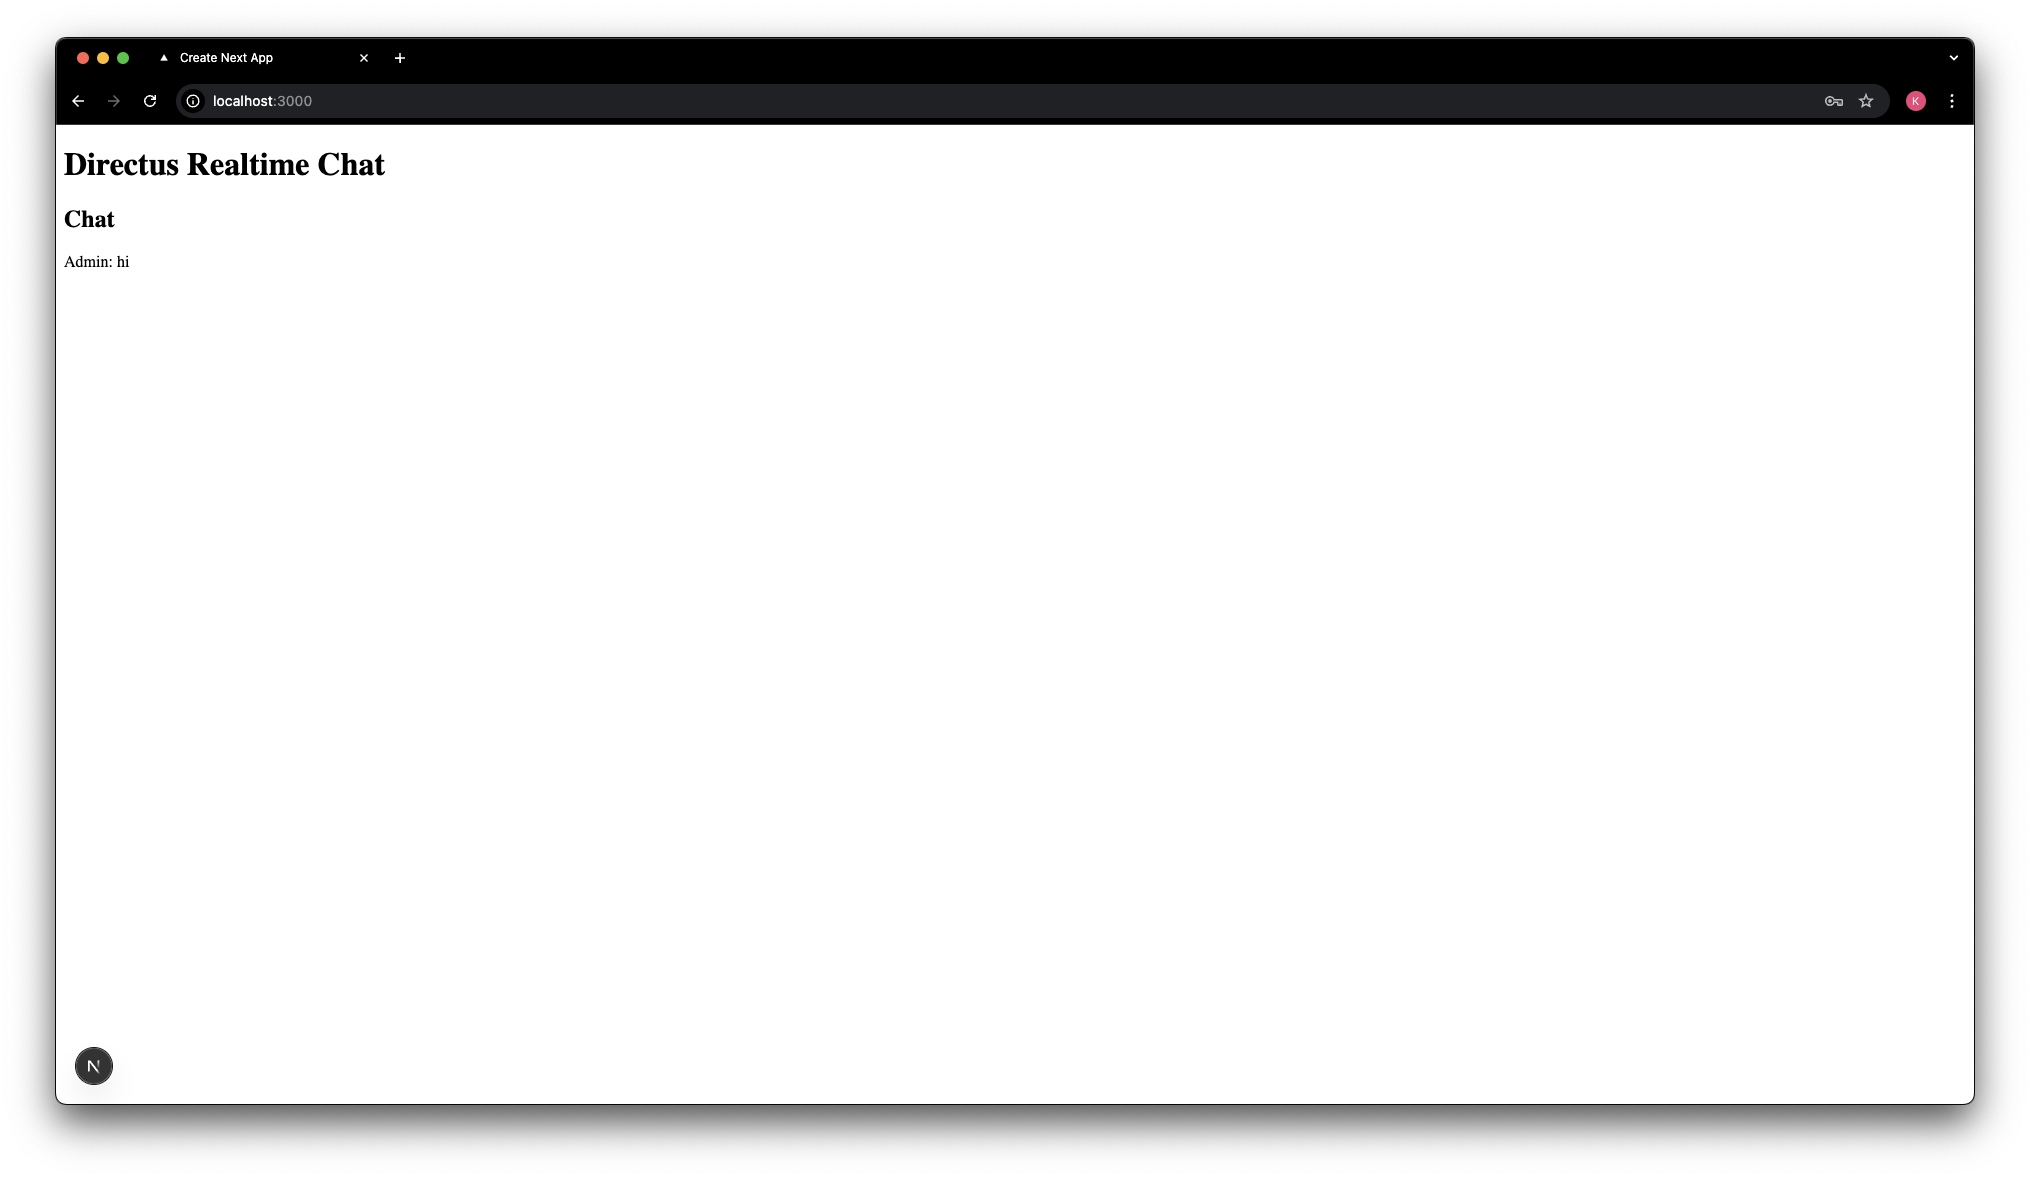
You can now visit http://localhost:3000 and you should see an empty chat window after logging in.
Try going back to Directus and creating a new message in the messages collection. You should see the message appear in the chat window.
Send Messages
Now that your Next.js app can receive messages, it's time to enable it to send messages as well! To To do that, you will need to add a new form to the JSX. In the return statement of the Home component, replace the contents of the else condition with the following:
<div>
  <h2>Chat</h2>
  {/* Message list */}
  {messages.map((message) => (
    <div key={message.id}>
      {message.user_created?.first_name || 'Anonymous'}: {message.content}
    </div>
  ))}
  {/* Message form */}
  <form
    onSubmit={(e) => {
      e.preventDefault();
      submitMessage();
    }}
  >
    <label htmlFor="message">Message</label>
    <input
      type="text"
      id="message"
      value={newMessage}
      onChange={(e) => setNewMessage(e.target.value)}
    />
    <input type="submit" />
  </form>
  {/* Logout button */}
  <button type="button" onClick={logout}>
    Logout
  </button>
</div>
You will also need to create a state container to hold the contents of the message as the user types it, the submit function to send the message to Directus as the authenticated user, and a logout function to log the user out when needed. To implement these, paste the following code in your Home component:
  const [newMessage, setNewMessage] = useState('');
  const submitMessage = () => {
    if (!newMessage.trim()) return;
    directus.sendMessage(
      JSON.stringify({
        type: 'items',
        collection: 'messages',
        action: 'create',
        data: { content: newMessage },
      })
    );
    setNewMessage('');
  };
  const logout = () => {
    directus.disconnect()
    setRefreshToken(undefined);
  };
You can now visit your website URL again and enter a message in the form and send it. The message should appear in the chat window, with the first name of the user.
You can also logout of the chat by clicking the logout button but if you do this you will notice the previously added messages have disappeared.
Fetching the Latest Messages On Load
Now that your Next.js app can send and receive messages, it's time to configure it to load old messages upon logging in. To do that, create the readAllMessages function in the Home component:
  const readAllMessages = () => {
    directus.sendMessage(
      JSON.stringify({
        type: 'items',
        collection: 'messages',
        action: 'read',
        query: {
          limit: 100,
          sort: '-date_created',
          fields: ['*', 'user_created.first_name'],
        },
        uid: 'get-recent-messages',
      })
    );
  };
To call this function when the page loads, update the message event listener:
    directus.onWebSocket('message', (message) => {
      try {
        console.log('Received WebSocket message:', message);
        if (message.type === 'auth' && message.status === 'ok') {
          setRefreshToken(message.refresh_token);
          // Fetch recent messages only if not already loaded
          if (messages.length === 0) {
            readAllMessages();
            subscribeToMessages();
          }
        }
        receiveMessage(message);
      } catch (err) {
        console.error('Error parsing WebSocket message:', err);
      }
    });
    directus.onWebSocket('error', (err) => {
      console.error('WebSocket error:', err);
    });
Finally, you also need to update the receiveMessage function to handle the message events with the uid get-recent-messages to be able to process the older messages and add them to the messages list. You'll also need to reverse the list to ensure that the most recent messages are at the bottom.
To do that, replace the receiveMessage function with the following:
const receiveMessage = (data) => {
    if (
      data.uid === 'messages-subscription' &&
      data.type === 'subscription' &&
      data.event === 'create'
    ) {
      const message = data.data?.[0];
      if (message) {
        addMessageToList(message);
      }
    } else if (data.type === 'ping') {
      directus.sendMessage({ type: 'pong' });
    } else if (data.uid === 'get-recent-messages') {
      data.data?.reverse().forEach(addMessageToList);
    }
  };
You can now visit your website url again and try logging in again. You should see the last messages in the chat window (up to the last 100 messages).
Handling Connection Stability
As you have seen before, Directus Realtime uses websockets to maintain a connection to the server. Behind the scenes, the Directus instance sends a heartbeat or ping message every 30 seconds to keep the connection alive. If the connection is lost, then the client will not receive updates. You already respond to this message in receiveMessage by sending a pong message back to Directus.
However, to ensure a more stable connection, you can use the refresh token from handshake mode to re-authenticate the user and re-subscribe to the messages collection when the access token expires.
To do that, update the receiveMessage function to handle the expired auth message appropriately:
const receiveMessage = (data) => {
    if (
      data.uid === 'messages-subscription' &&
      data.type === 'subscription' &&
      data.event === 'create'
    ) {
      const message = data.data?.[0];
      if (message) {
        addMessageToList(message);
      }
    } else if (data.type === 'ping') {
      directus.sendMessage({ type: 'pong' });
    } else if (data.uid === 'get-recent-messages') {
      data.data?.reverse().forEach(addMessageToList);
    } else if (data.type === "auth" && data.status === "expired") {
      console.log("Authentication expired, re-authenticating...");

      if (refreshToken) {
        try {
          directus.sendMessage({
            type: "auth",
            refresh_token: refreshToken,
          });
          console.log("Re-authenticated successfully");
        } catch (error) {
          console.error("Re-authentication failed:", error);
        }
      } else {
        console.log("No refresh token available, cannot re-authenticate.");
      }
    }
  };
Now if the connection is lost, the app will attempt to reconnect and re-authenticate the user.
Summary
Realtime communication via websockets is a powerful feature of Directus that can be used, not just for message communication but also user authentication and data filtering and synchronization.